
IC Module Implanting Machine: How It Works & What to Compare
IC Module Implanting Machine: How It Works & What to Compare
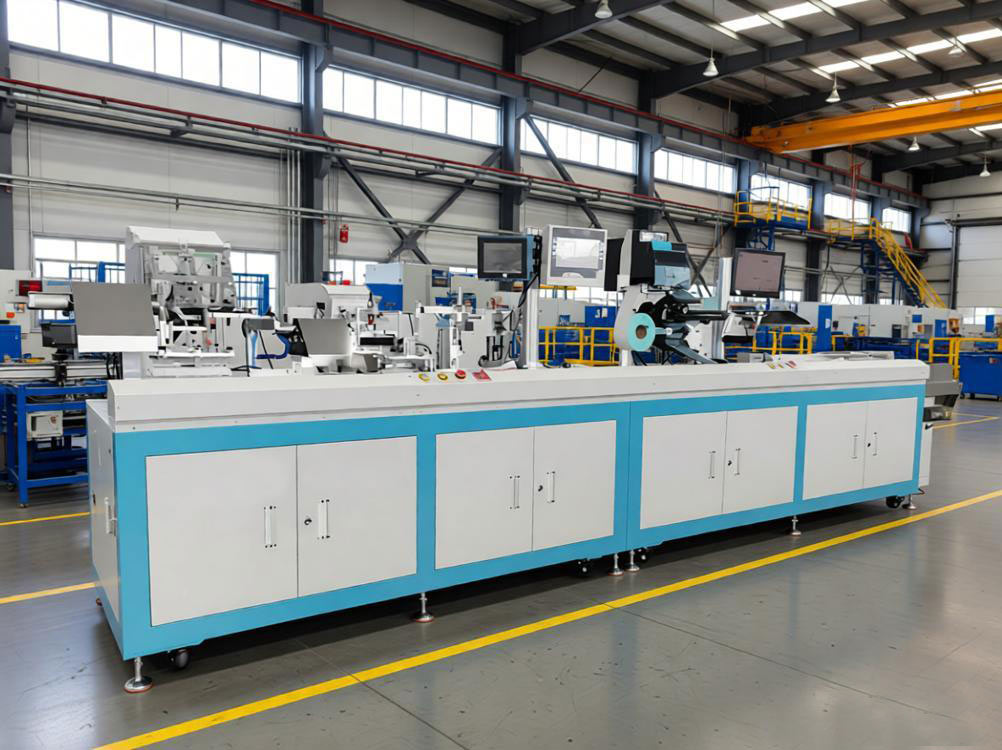
The chip module is the heart of a smart card. Whether the card is a contact banking card, a contactless transit card, or a dual-interface ID card, the tiny module must be placed into a precisely milled cavity with the right adhesive, alignment, and electrical connection. That is the job of the IC module implanting machine.
This article explains how IC module implanting works, what separates a basic unit from a high-precision production system, and the specifications to compare when choosing equipment for your card manufacturing line.
1. What an IC Module Implanting Machine Does
The machine performs the critical step between card body preparation and electrical testing. Its main functions are:
- Pick up a chip module from tape-and-reel or waffle tray.
- Apply conductive or non-conductive adhesive into the card cavity.
- Place the module into the cavity with micron-level accuracy.
- Cure or press the adhesive to create a reliable mechanical and electrical bond.
- Transfer the card to the next station for testing or personalization.
In dual-interface cards, the module must also make contact with the embedded antenna, so alignment and contact resistance are critical.
2. Key Types of Module Placement Systems
| Type | Best For | Throughput Range | Accuracy |
|---|---|---|---|
| Contact chip implanting | Bank, ID, GSM SIM cards | 1,000–6,000 cards/hour | +/-0.03 mm |
| Contactless inlay pick-and-place | RFID cards, transit cards | 800–4,000 cards/hour | +/-0.05 mm |
| Dual-interface module mounting | Dual-interface banking/ID cards | 600–3,000 cards/hour | +/-0.02 mm |
| All-in-one milling + implanting | Small to mid-volume lines | 800–2,500 cards/hour | +/-0.03 mm |
Throughput is important, but for dual-interface and high-security cards, accuracy and bond reliability usually matter more than raw speed.
3. How the Implanting Process Works Step by Step
- Cavity preparation: The card body is milled or punched to create a module seat of the correct depth and outline.
- Adhesive dispensing: A measured amount of epoxy or conductive paste is deposited into the cavity.
- Module pickup: A vacuum nozzle or gripper picks the module from its carrier.
- Vision alignment: Cameras align the module pads to the cavity or antenna terminals.
- Placement and bonding: The module is lowered into the cavity; pressure and temperature cure the adhesive.
- Transfer to test: The card is moved to electrical testing to verify continuity and contact resistance.
For more on cavity preparation, see our guide to Dual-Interface Card Milling & Embedding.
4. Specifications to Compare
- Placement accuracy: +/-0.02 mm to +/-0.05 mm is typical; tighter is better for dual-interface.
- Module size range: Make sure the machine supports the SIM, banking, or ID module formats you use.
- Adhesive type: Conductive, non-conductive, or thermoplastic; the system should match your card specification.
- Cavity depth control: Critical for ISO 7816-1 card thickness compliance.
- Changeover time: Tape-and-reel changes, nozzle sets, and program switching should be fast for multi-product lines.
- Traceability: Look for serial logging, image capture, and reject tracking for quality audits.
Buyers often focus on throughput but overlook bonding quality. A misplaced or poorly bonded module will fail electrical test, wasting the card body and the chip.
5. Where IC Module Implanting Fits in the Line
Implanting is a bridge process. It receives cards from:
- Sheet trimming and cutting stations.
- Milling and implanting combinations.
After implanting, cards go to:
- Module testing for electrical verification.
- Card sealing, labeling, and sorting for finishing and mailing.
6. Frequently Asked Questions
What is the difference between chip implanting and wire embedding?
Chip implanting places a finished module into a card cavity. Wire embedding lays the antenna coil onto the card substrate before lamination. They are different stages of production.
Can one machine handle both contact and contactless modules?
Some machines are configurable, but dual-interface modules often require the highest accuracy and a dedicated setup to ensure antenna contact.
Why is adhesive selection important?
The adhesive must survive card bending, temperature cycling, and humidity. Conductive adhesive is used when the module must make electrical contact with the antenna.
How is module placement verified?
Vision systems, electrical tests, and sometimes X-ray inspection verify alignment, continuity, and bond quality.
What causes high module rejection rates?
Common causes are cavity depth errors, adhesive dispensing inconsistencies, worn nozzles, and poor incoming module quality.
7. Source IC Module Implanting Equipment
ZOWINDA builds IC module implanting and related card production machines for manufacturers that need stable output and tight process control. Whether you need standalone implanting, milling-and-implanting integration, or a complete inlay-to-card line, our team can recommend the right configuration.
Looking for an IC module implanting machine? Reach out for specifications, throughput calculations, and a line layout proposal.
Email: [email protected]
WhatsApp: +86 186 2085 0485
 Auto COB Pick and Placer Machi
 Auto Hole Punching Machine – P
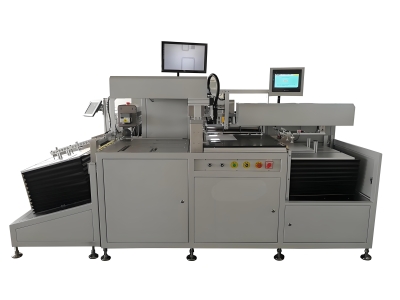 Auto Sheet Shearing Machine -
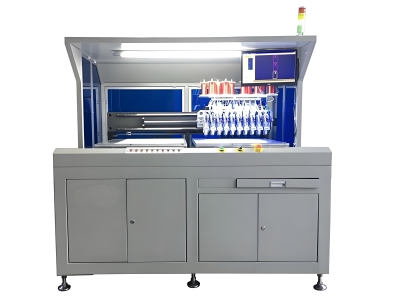 Auto Antenna Embedding Machine
Please contact us with your request
We are ready to answer your questions.