How Smart Cards Are Made: Process Steps 2026 | Zowinda
Understanding how smart cards are made helps buyers, production engineers and procurement teams choose the right equipment and avoid costly mistakes. A modern smart card is a precision layered composite rather than a simple plastic rectangle. It combines a rigid plastic substrate, a contactless antenna or RFID inlay, a secure microcontroller chip, and a protective overlay that carries printed graphics. Each of these layers is produced by dedicated machinery, and the smart card manufacturing process follows a predictable sequence that runs from raw sheet material all the way to a finished, personalized and tested card. This guide walks through every smart card production step in plain language and points to the specific machines that perform each operation on a real factory floor.
1. What Is Inside a Smart Card?
Before looking at the machinery, it helps to understand the anatomy of the finished product. A typical contact or contactless card contains four functional elements working together. The substrate is usually PVC, PET-G or recycled rPVC, and it gives the card its rigidity and printable surface. The antenna or inlay carries the radio signal for contactless communication and is either a wound copper wire or a printed conductive trace. The chip module holds the secure element and, for contact cards, the gold-plated contacts that touch the reader. Finally, the overlay seals and protects the assembly while carrying the visible design. Getting these layers right is the foundation of how smart cards are made at volume, because a weakness in any single layer shortens the life of the whole card.
Cards are also grouped by interface. Contact cards expose a module that must be inserted into a reader. Contactless cards communicate by radio through the embedded antenna. Dual-interface cards include both, and they are now the most common choice for banking and government ID. The interface you choose changes which machines the line needs, especially at the embedding and milling stages.
2. Inlay and Antenna Embedding
The first real production step is building the contactless core. A thin antenna is embedded into the card body so the chip can exchange data with a reader at the correct frequency, usually 13.56 MHz for HF or 860 to 960 MHz for UHF. Two construction methods dominate the industry. Wire wound antennas offer excellent signal stability but are slower to place, while printed antennas are cheaper and faster but demand tighter process control. Ultrasonic or hot-plate embedding machines lay the antenna into a milled channel and bond it under heat and pressure, locking it in place without damaging the trace.
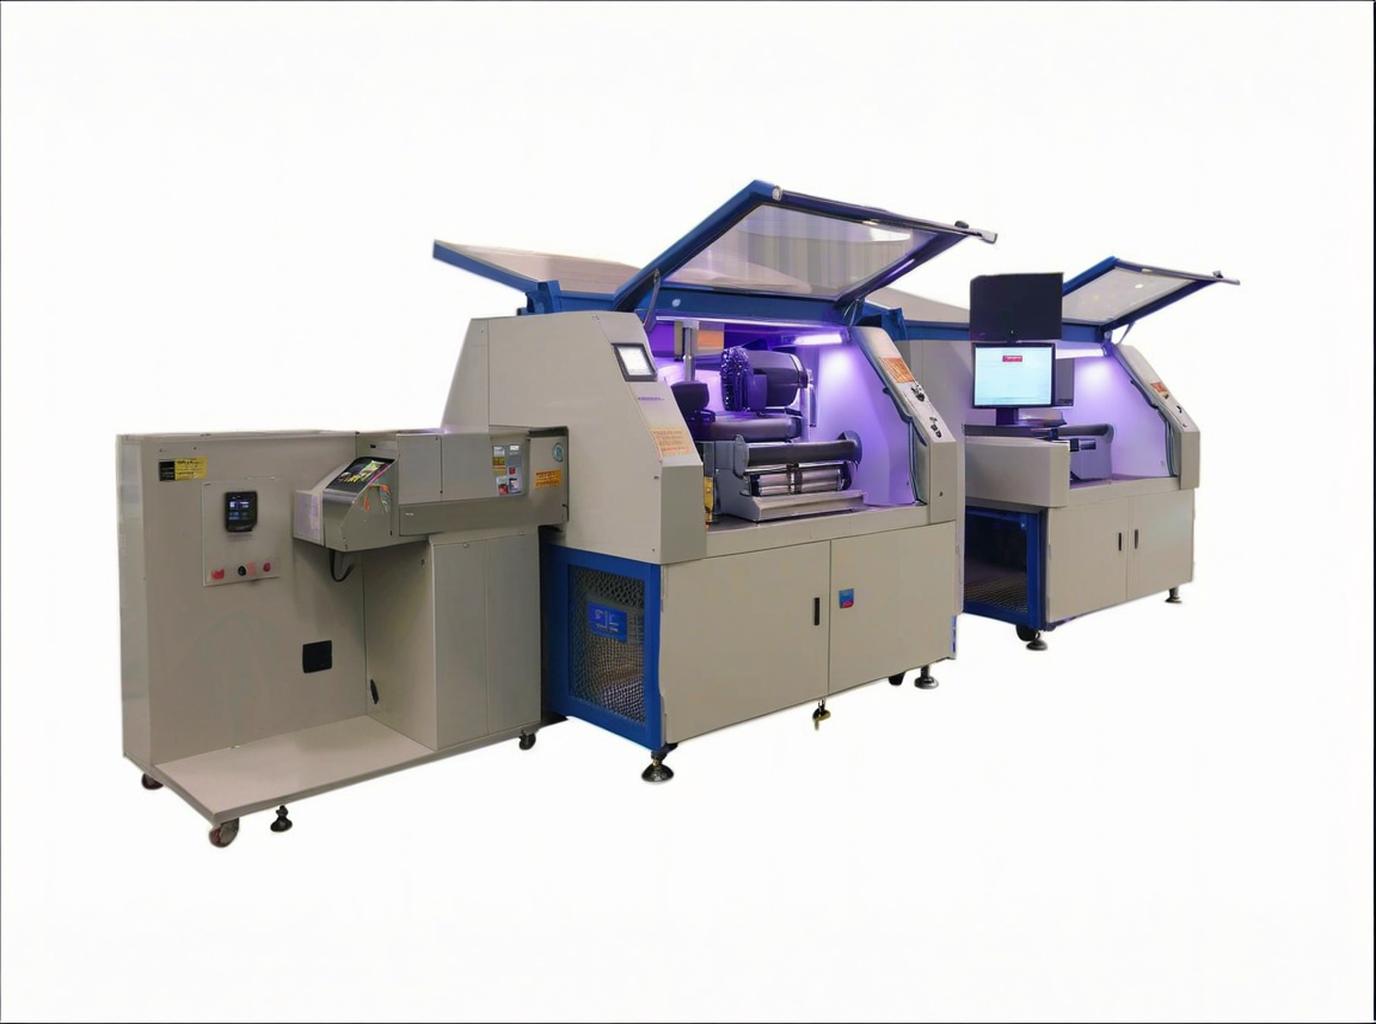
This stage decides the read range and the consistency of that range across a whole batch, so registration accuracy matters more than raw speed. A misplaced antenna by even a fraction of a millimeter can drop read performance. Our Custom Auto Antenna Embedding Machine for Smart Cards performs this step with repeatable registration and automatic vision alignment, which is the difference between a prototype bench and a line that ships millions of units.
3. Lamination and Overlay
Once the inlay is in place, the card stack is fused into a single solid body. Card lamination and personalization begin with a heated press that bonds the printed graphic sheets, the inlay and the protective overlay under controlled temperature and pressure. A Automatic Sheet Collating and Overlay Machine collates the layers in the correct order, evacuates air voids, and applies uniform pressure so the finished card meets ISO 7810 thickness and planarity specifications.
Good lamination prevents the three failures that plague weak lines: delamination where layers separate, warping that jams downstream equipment, and poor print adhesion that fades in the field. Operators tune the lamination temperature, dwell time and pressure for the substrate in use, because PVC, PET-G and rPVC each respond differently. Treating lamination as a tuned process rather than a fixed setting is one of the highest-leverage improvements a new factory can make.
4. Slot Milling and Chip Module Bonding
For contact and dual-interface cards, a cavity must be milled into the laminated body to accept the chip module. A Smart Card Slot Milling Machine cuts a precise pocket whose depth and position decide whether the module sits flush with the surface. At the same time, a RFID Automatic Flip Chip System picks the silicon die or pre-packaged module and bonds it with micron-level accuracy using conductive adhesive or solder.
This is the most tolerance-sensitive part of the smart card manufacturing process. A cavity that is too deep cracks the inlay; too shallow and the module protrudes and catches in readers. Flip-chip bonding must also align the die pads to the antenna leads so the electrical connection is reliable for the life of the card. Modern millers pair vision alignment with automatic tool-wear compensation to hold yield above 99 percent even across long production runs.
5. Personalization: Printing and Encoding
After the physical card exists, it must be turned into a unique credential. Printing applies the cardholder design, serial numbers, barcodes and security features, while encoding writes data to the chip or magnetic stripe. A GSM Card Personalization Machine combines thermal or retransfer printing with contact and contactless encoding in a single pass, so one blank card becomes a finished, individualized product without manual handling.
The choice of printing technology shapes both look and durability. Direct thermal is cheap but fades, thermal transfer is a good general purpose option, and retransfer printing gives the most durable, edge-to-edge result for high-security cards. On the encoding side, the line must support the relevant standards for the application, whether that is a banking applet, a transit ticket or an access credential. Building printing and encoding into one station reduces handling and the scrap that handling causes, which is why card lamination and personalization are often discussed together as the final value-adding stage.
6. Quality Control and Testing
No production line is complete without verification. Finished cards are checked for electrical continuity, mechanical durability and surface quality before they leave the factory. A ICC Card Three Wheel Tester simulates the bending and torsion cycles a card meets in a wallet and a reader, confirming it survives real use rather than just passing on the bench. Electrical testers validate chip communication, antenna tuning and encoded data, while visual inspection catches scratches, misregistration and overlay defects.
The standard reference for this work is the ISO 10373 series, which defines how cards are tested for flexibility, torsion, magnetic stripe, electrical and environmental resistance. Building testing into the line, rather than auditing only at the end, is the cheapest way to protect yield and brand reputation, because a fault caught at step two costs far less than one caught after personalization.
7. Common Defects and How to Avoid Them
Most smart card scrap traces back to a handful of repeatable causes. Delamination points to lamination temperature or pressure that was wrong for the substrate. Poor read range almost always means antenna misregistration at the embedding stage. Module protrusion or cracks come from slot milling that drifted out of tolerance. Print fading signals the wrong printing technology for the use case. The practical lesson is that each defect maps to a specific machine setting, so a line with good in-line measurement and automatic compensation will outperform a line that simply runs faster.
8. Choosing the Right Equipment and Line Layout
A complete line rarely needs every machine at once. Small issuers often start with a personalization unit and outsource embedding, while high-volume factories integrate inlay embedding, lamination, milling, bonding and testing into one automated cell. The right configuration depends on card type, expected volume and whether you produce contact, contactless or dual-interface products. Matching equipment to your roadmap avoids both over-investment in machines you will not fill and bottlenecked throughput that strands expensive personalization capacity.
Footprint, power, operator skill and serviceability also matter. A line that is theoretically fast but needs constant attention will underperform a slightly slower line that runs unattended. When planning, model the whole flow as a system and size the slowest step first, because the line can only ship as fast as its weakest station allows.
Typical Smart Card Production Specifications
| Process step | Typical parameter | Why it matters |
|---|---|---|
| Card thickness (ISO 7810) | 0.76 mm +/- 0.08 mm | Fits readers and wallets |
| Lamination temperature | 120 to 150 deg C | Bonds layers without warping |
| Slot milling accuracy | +/- 0.05 mm | Protects chip contacts |
| Antenna embed registration | +/- 0.1 mm | Stable read range |
| Throughput (integrated line) | up to 6000 cards/hour | Matches issuance demand |
| Testing yield target | greater than 99 percent | Protects brand and cost |
Frequently Asked Questions
How long does it take to make a smart card?
A single card moves through embedding, lamination, milling, bonding, personalization and testing in seconds on an integrated line. End-to-end cycle time is usually a few seconds per card, which is why a well-balanced line delivers thousands of finished cards per hour rather than per day.
What is the difference between contact and contactless cards?
Contact cards expose a gold chip module that physically touches the reader, while contactless cards use an embedded antenna to talk to the reader by radio. Dual-interface cards include both. The smart card manufacturing process adds the antenna embedding and inlay steps for contactless and dual-interface products, which is why those cards need more equipment upstream.
Why is lamination so important in card production?
Lamination fuses the layers into one rigid, durable card and locks in the inlay and graphics. Poor lamination causes delamination, warping and failed testing downstream. A reliable overlay machine is therefore essential for card lamination and personalization quality and for keeping scrap low across the whole line.
Can one machine make the whole card?
Some vendors sell all-in-one units, but most factories use a sequence of specialized machines for embedding, lamination, milling, bonding and personalization. Specialized equipment gives better yield, easier maintenance and simpler spare parts than a single do-everything machine that is hard to service when one function fails.
How do manufacturers test card quality?
They verify the electrical continuity of the chip and antenna, run mechanical durability cycles with a three-wheel tester, and inspect surface defects against the ISO 10373 test methods. In-line testing catches faults early, keeps scrap low and protects the brand when cards reach the field.
Get a Smart Card Production Line from Zowinda
Zowinda supplies the full range of smart card manufacturing process equipment, from antenna embedding and lamination to slot milling, flip-chip bonding, personalization and testing. Whether you need a single machine or a complete automated line, our team can size the right configuration for your card types, target volume and interface mix.
Contact us: info@zowinda.com | WhatsApp: +86 186 2085 0485
Learn more about our RFID Automatic Flip Chip System or request a
quotation for a complete production cell tailored to your factory.
Published 2026-09-13 by Zowinda - Smart Card and Packaging Machine Manufacturer.